Showing posts with label diy. Show all posts

Monday, October 13, 2014

The State of the Union


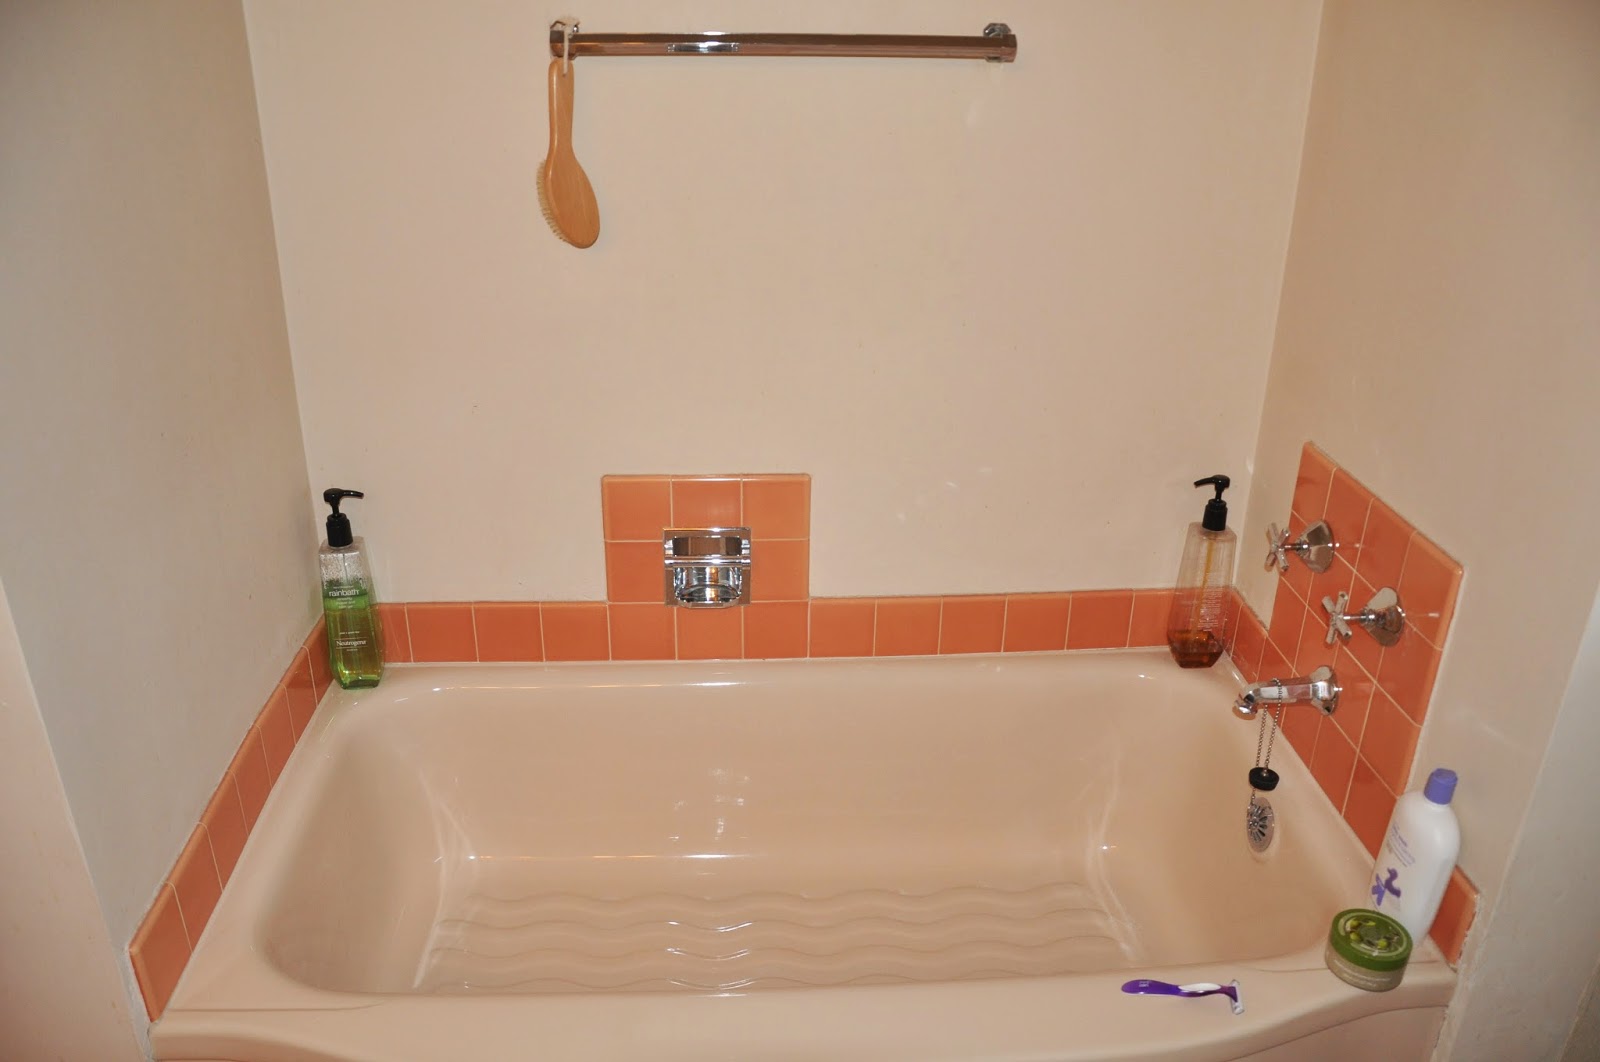
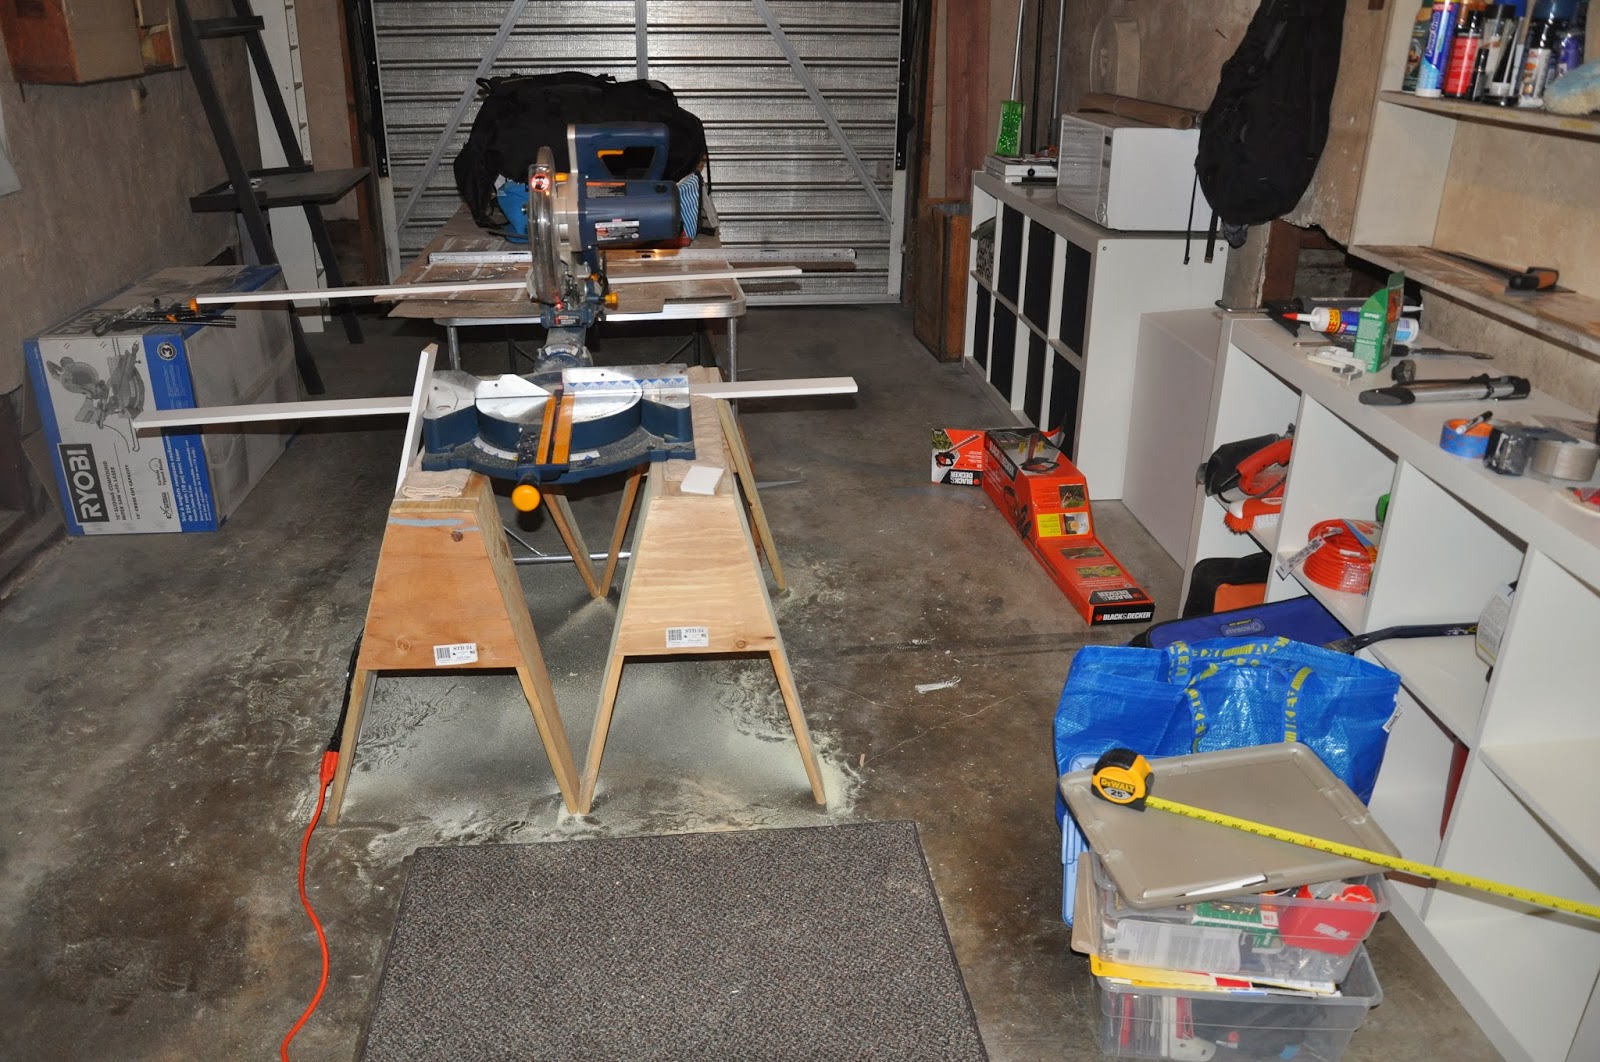
We haven't done much renovating lately, as you may have been able to tell from the lack of posts. But then last week we jumped in again with three projects in one week. So much for living stress-free. The upstairs bathroom has been gutted and will be completely redone, and the kitchen is losing the laminate flooring for a simple upgrade. We also had the kitchen's plumbing and electric fiddled with to make it possible for us to have a dishwasher! Heaven. Tocco built a cabinet to house it and shaped a counter for the top. It's so awesome having the dishwasher and extra counter space. We are also starting to update the electric on the house. Ours provides something like 40 amps, and code has now moved up to around 200 amps. It's been totally fine so far, but we have to be careful not to wash clothes and our dishes and run the hair dryer at the same time. No biggie so far, but good to get done. Here are photos of the gross bathroom before work one day, and the even grosser bathroom, and kitchen floor when we returned home from work! It should all be done in about 5 more days... cannot wait!


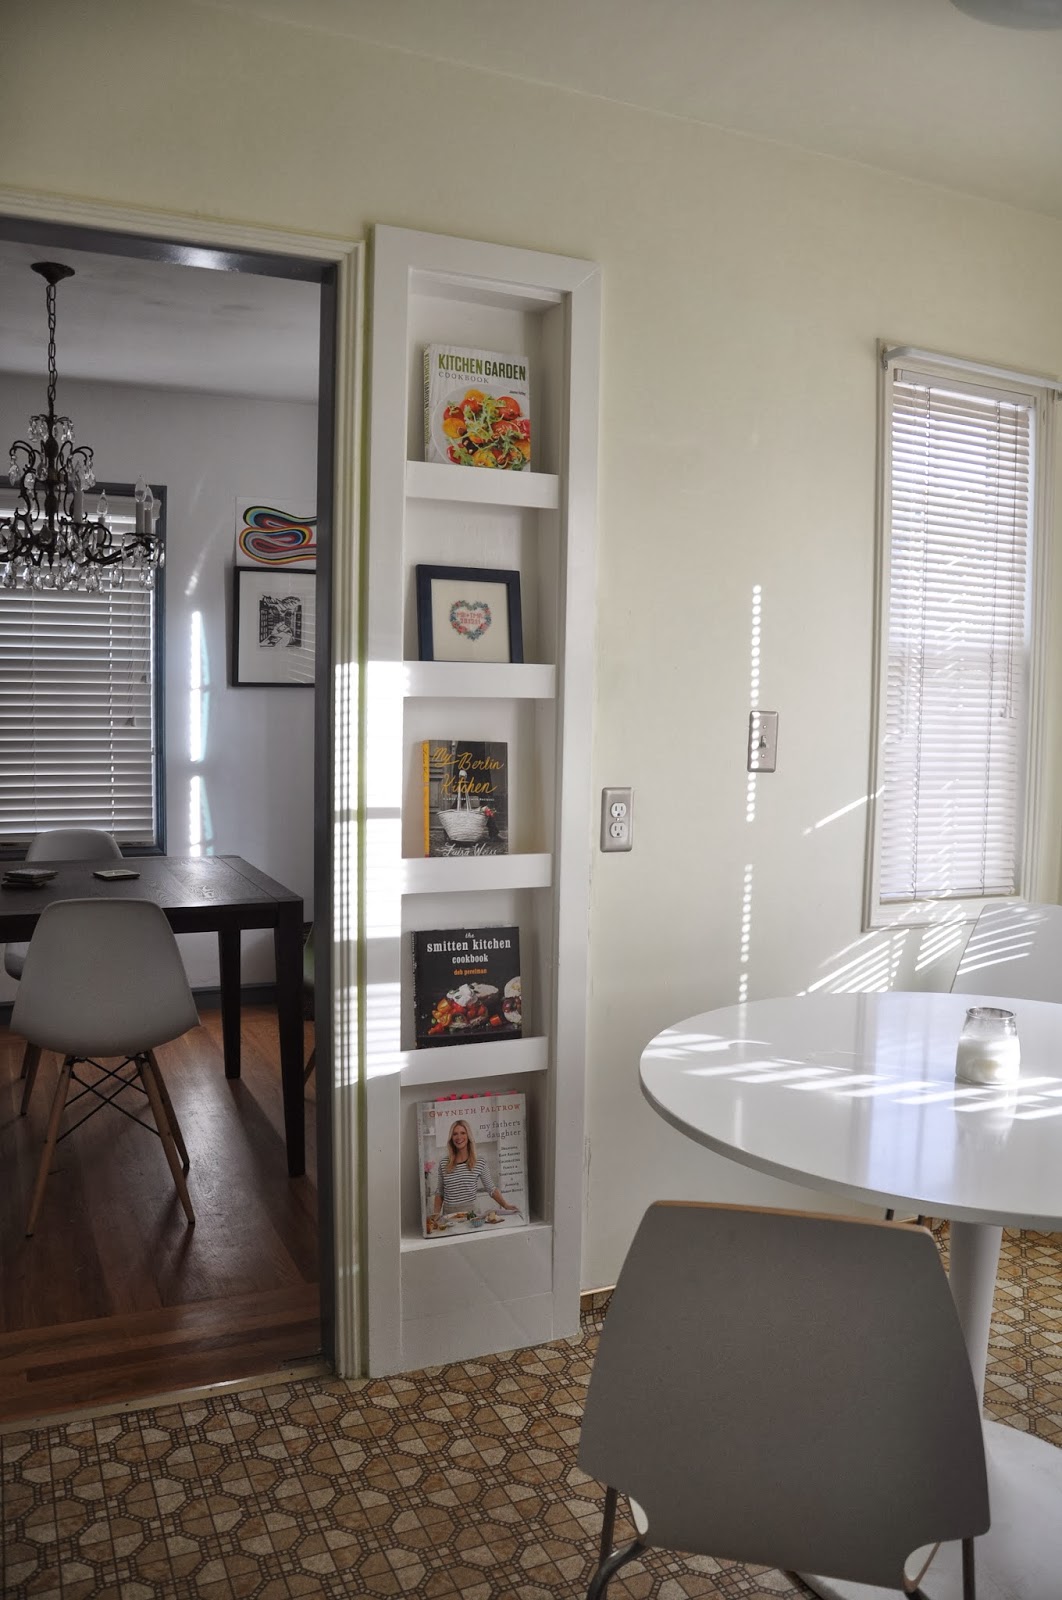
And after work, checking out phase one of renovation. Psyched to find no leaks or water damage anywhere.


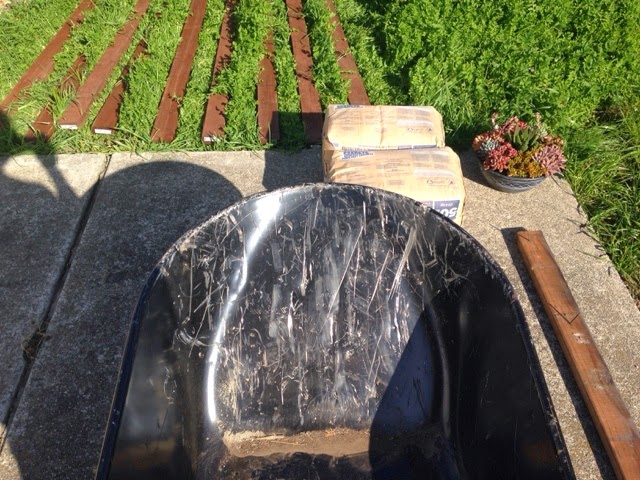
Wooden floors in the kitchen! As we hoped. But it doesn't match the rest of the hardwood and isn't quite as nice, so covered up again it gets... 


Friday, June 6, 2014

Tocco, Super(handy)man

I have to say, I'm really impressed by Tocco. He is, without a doubt, the hero of this house renovation. I came home yesterday to find the kitchen counters half demo'ed (the second half getting done today) and new counters measured, cut, sanded and installed. He told me going in that he could do all of this stuff, but it's hard to believe until it's actually happened (several times over).

It would take me weeks, if not months (or years) to get up the nerve to take a sledgehammer to perfectly fine countertops and tile, without ever having done it before. You need a ton of confidence to do these things and be sure you can get them done correctly, in a good style, and in just a day or two. To know that you're not only smart enough, but resourceful enough, and creative enough to do it (not just on this project, but countless others, very big and very small). This is not to say that he's always right or we always agree (see: basement steps, # of coats of paint required, exterior paint color, and whatever else we've disagreed on). But still. Awesomeness

Proud of you, T. Keep up the good work. xo

No, it's not finished. No, there won't be three colors painted on our cabinets. Yes to the gray and white. 

Thursday, March 20, 2014

Ironing Board---> Cookbook shelf

I love this little project Tocco surprised me with one day after work. You know those long nooks that, back in the day, housed the ironing board? They're really sweet, and I love knowing that our house is old enough to have had such a quaint life- ironing in the kitchen, yellow counter tiles, probably some flowerpots on the windowsills, and some Patsy Cline on the record player or something.   


Less charming is the wild green paint, again. The previous owner had made this nook into the spot for her phone and at the bottom, a special holder for her yellow pages. She probably logged hundreds of hours on that phone, sitting at her kitchen table, like my Mom and Aunt Judy. ;) But since it's 2014 and we need neither a phone, nor the yellow pages, T got to work sanding, scraping and clearing away the old set up. 


Then he made these awesome little T-shelves x4 in his workshop... 


Secured them with special brackets... 


Nailed them in place in equal measures, and painted them white...


And now this old space that was a big eyesore has been transformed into something useful for us, and also so pretty. I really love how natural it looks, like it could have always been there, or that it's a custom built-in we had made from scratch. 


It currently holds my cookbooks and a wedding present from Tocco's mom, Brigitte, which we love. But I can see it changing out with a variety of objects over time.


Thanks Tocco!


Monday, March 17, 2014

One of those days (We built a fence!)

The day started with a plan, a plan that led to internal anxiety and desperation, even though it was sunny, warm, and beautiful outside. But there was this plan, something we didn't account for, a thing, our fence - the neighbors complained since the first day about it, that it wasn't willing or able to stand on its own any longer. We tried everything to avoid a repair, but no matter what, as soon as there was a breeze, the fence fall in the direction of the wind.


Same procedure as usual. Since we don't want to waste too much time fixing the fence, it means we get up early, and since Home Depot opens at 6:00 a.m., it shouldn't be too hard to save some hours by getting a head start. What do we need - we guessed around 6 new posts, between each post two beams, one on top, one at the bottom, concrete to fix the post in it's deep hole, which we need to dig, hundreds of screws, motivation, steam as long as there is steam. Off we go!


The tools to demo the old fence, and carefully please, we want to reuse the old panels since they look kinda cute, much better than 50 yards of brand new shiny ones.


This is the old sucker, only still standing because last time the wind came from the south, so the fence could lean against the tiny little orange tree you see behind the fence, don't know who was helping whom here, the tree to hold the fence or the fence trying to cover this little sad looking tree.


The rest of the story after the break...

Last weekend

Major front yard reno

From the ickiest front lawn to the second ickiest. We have a long way to go in the front. But man, we worked hard last (and this) weekend. 


The plan this first spring in the house is gaining control and getting rid of all of the things we don't like, as opposed to adding new plants. So, last weekend we hauled away tons of rocks, a few wild "hay" plants, a few chunks of dead lavender, our weight in weeds, and then Tocco trimmed the dreaded juniper bushes that he says he has to get drunken to shape just right. ;) Eventually, we'll remove all those little stones too. Want 'em? 

We ran out to buy a wheelbarrow to transport some of these insanely heavy rocks from the front yard to the back. Not quite sure what to do with them ultimately - considering building a short wall with them and filling the insides with soil and succulents. That could look good? At the very least they're in the backyard, collected, instead of in the front, for now.


We're exhausted. Bye!

Monday, March 10, 2014

Quick before and after


You guys we are getting closer to halfway done! The adventure to slowly sand, scrape, peel, buff, and paint the kitchen cabinets from pastel lime green to grey/white/aqua continues. We are creepin' down the cabinet line...


Wednesday, February 26, 2014

Tocco's custom baseboards

So, the challenge was, after we got the floor leveled and new drywall up, how to hide the 1940's idea of a foundation which has a beam of redwood on top that can't be hidden by either leveling the floor and raising it up to meet the redwood nor by adding new drywall. The answer - after a few discussions with Megan - was let's build some custom baseboards that are going to wrap around the beam, while also covering them up. First I was hoping that there is something already built out there, since this is not the only house that is constructed this way, but no, nothing. Or you could do it the old-fashioned way - as they obviously did when the house was built - to just plaster them with a layer of stucco, and finished it looks like a boot, which obviously doesn't look pretty enough for our taste.


Ok, back to the drawing board. I needed to cover the 2 inches of redwood sticking out of the wall and the 0.5 inches sticking out from the ground. This means I need 2 inches for the distance and 0.5 inches in height. I could use a 2x2 inch square strip throughout, but this may not work, it gets a bit too heavy and quite tricky to mount. What I need is a kind of "L" shape, ideally in wood, with one part of the "L" that bridges the gap and the other part big enough to mount it against the board. But it also can't be too delicate and therefore useless because it may get crunched by the first touch of a vacuum cleaner. Believe it or not, as exotic it may sound, at the local hardware store they do carry something like that wooden strip in a "L" shape, each side 2 inches.


Thursday, February 13, 2014

No guest of mine...

I want to start the day out with a few photos of how the guest bedroom looked before we moved in. Take a good, long look. 


see more photos after the jump

Monday, February 10, 2014

Upper hallway

After shots first:


These used to be blackened:


See below for what this cabinet used to look like. Tocco is a DIY genius. He fixed it!


Check out those brackets:


Lots of ideas for this sweet cubby for the future:


click to see the before shots: